STEM Activities for Kids [Of All Ages!]
Kids are natural scientists, engineers and explorers – it’s no wonder that they love doing STEM activities and projects! Although many young kids are fascinated by STEM topics (Science, Technology, Engineering and Math), sadly their passion often fades as they get older.
Here at STEM Geek, we’re passionate about keeping and expanding kids’ natural interest in STEM (and including the Arts – STEAM!) by getting them involved in regular STEM activities and projects. We recently expanded our focus on kids activities across all facets of STEAM by acquiring KidzActivities.net.
This page is your easy-to-navigate guide to all the kids STEM activities and projects we have on offer across our site. Let’s dive in!
Quick and Easy STEM Activities for Kids

The number 1 request from our readers is for more STEM activity ideas that are easy to do, don’t need any special equipment or materials, while still being fun, engaging and educational. That’s a high bar to achieve! Luckily, we’ve got you covered!
Our number one recommendation would be to look at the incredible range of monthly STEM subscription boxes for kids that are available. These take all the guesswork and stress out of thinking up new STEM activities, finding the materials, etc. What I really like is this then allows you to focus all your attention on engaging with your kids during the activity.
If you’re keen to take on the DIY challenge instead of, or as well as, the subscription box approach, here are some of our best resources:
- In a hurry? Try our 20-Minute STEM Activities
- For STEM Projects that won’t take forever, try 5 Quick and Easy STEM Projects for Kids
- Or, for a particular age, try our quick & easy:
On the flipside, if you have plenty of time available and you’re looking for STEM projects that your kids can monitor over a prolonged period, take a look at our Long-Term STEM Project Ideas!
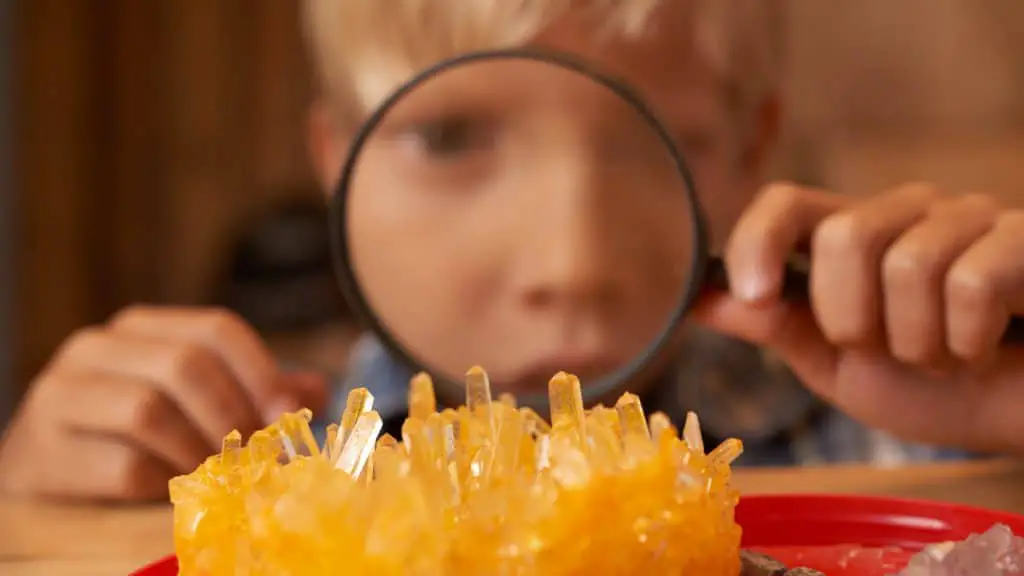
These STEM-related projects are simple enough to help kids reinforce their life skills, and could spark an interest for a long time in this important field!
Age-Appropriate STEM Projects and Activities
Finding STEM projects for children that are age-appropriate can be difficult. Here are some of our most popular STEAM activity ideas, grouped by age:
- STEM Projects for 4 Year Olds
- Pre-K STEM Activities – Fun & Learning for Preschoolers!
- Fun STEM Activities for Elementary Students
- 8 Fun STEM Activities for Middle School Students
- 8th Grade STEM Activities and Projects
And just to show that you’re never too old to learn, we also have some awesome Science Projects for Seniors!

Science-Themed STEM Project Ideas
Sometimes it seems to me that science gets a bit overlooked in STEM! Robotics is certainly all the rage and who doesn’t love a cute programmable robot? Yet science is FUNdamental! Here are our top STEM projects articles that focus on science:
- High School Chemistry STEM Projects
- STEM Projects for High School Biology
- Physics Experiments for Kids
- Microscope STEM Activities for Middle School
Now, we wouldn’t want the ‘M’ in STEM to feel left out, so we also have a great set of Middle School Math STEM Activities that is organized by age range.
Science Fair Project Ideas
Science Fairs have, for many years, been a great way to capture kids’ imagination and help them understand the scientific process. Possibly the hardest thing for many kids (plus their parents and teachers!) is finding the initial idea. We’ve got you covered! Here are our most popular posts on science fair project ideas, to start your STEM creative juices flowing:
- 3 Archery Science Fair Project Ideas [All Ages]
- 4 Easy Gymnastics Science Fair Project Ideas (Work It!)
- 3 Awesome Disney-Themed Science Fair Project Ideas
- Biology Science Fair Projects for 10th Grade
- 1st & 2nd Grade Science Fair Projects
- Simple Science Fair Projects for 3rd Graders

Kids STEM Activities By Theme or Situation
Sometimes you have a particular theme or need in mind for your STEM activity or project. Perhaps it has to fit into a curriculum topic, season or calendar event. Here are some of our best STEM activities and projects that fit your particular needs:
STEM Activities by Season or Event
Themed STEM Activities
- LEGO STEM Activities
- Online STEM Activities
- Large Group STEM Activities
- STEM Activities Outdoors (Screen-Free!)
- Native American STEM Activities
- Civil War STEM Projects
- Ocean-Themed STEM Activities for Kindergartners
- 20 STEAM/STEM Makerspace Activities for Elementary School

KidzActivities.net Acquisition
In April 2022, STEM Geek acquired KidzActivities.net in order to expand our STEM-focused kids activities offerings. KidzActivities.net was a site filled with kids crafts, art activities, play based learning ideas, kid friendly recipes, birthday party ideas and parenting tips. STEM Geek feels a strong alignment with the original vision and focus of this site.
KidzActivities.net was started in 2013 and published exciting and innovative kids activities, ideas and tips for parents. Some of the most popular posts included preschooler craft ideas, LEGO math activities for preschoolers, printables, templates, memory games, party ideas for young children and indigenous craft ideas. We are excited to follow in the footsteps of this site and continue to provide high-quality kids activities with a STEM education focus.

